Saturday, November 18, 2006

Postcards and ATC's


I thought I'd show you the snowflake cards I have just sent off for a swap with FAI. I am rather pleased with how they have turned out. I layered up a background of snippets of organza with organza in a really light blue organza over the top of the lot. I then layed down the grids in line with the work I have been doing for C+G. I then used the soldering iron to slash back through the thicknesses. I didn't think it had been very successful until I layed down the blue and silver square and the snowflake brads, then it all seemed to come together.
The purple ATC was one I made for Pam at College's significant birthday ( see Pam I didn't let you down!) I used a piece of cerise taffeta and cut through to a layer of angelina fiber. I also gathered the one corner. the idea was to give her clues as to who's was who by reflecting our work, but I decided to change the colours to ones she likes. The beads attached are from New Zealand that someone sent me in the FAT journal quilt swap. I nearly didn't want to part with it!

Wednesday, November 08, 2006

Heat setting recipy?!

Arlee had asked me to post how I did my heat setting, and I keep forgetting, so I'm doing it now before I forget again! I gathered up my fabric with cotton thread, just incase I melted the polyester thread. Wheni was happy with them i put them in a backing parchment parcel, or I have been told that the silicone sheet for the bottom of the oven, or baking on work well too. This is to stop too much direct heat. I then put it in a ceramic dish, because one of my friends at college had told me that if you touch the polyester on the metal of a baking tray you get one hell of a mess! I then pre heated the oven at 200 degrees. i baked them for about 30 minutews, which was longer than I expected, i had been told by Robbie at college to do it high and fast, e.g. high heat and not for long time, so I thought 30 minutes was quite long. I took them out a couple of times to check on, a few on the edges were a bit crisp, but I quite liked this. I have also heard that you can do this in a vegetable steamer, see Michelle Griffiths ( by the way a fantastic WELSH textile artist) on Workshop on the web, she has a tutorial there, I forget which month now. Hope this helps Arlee!


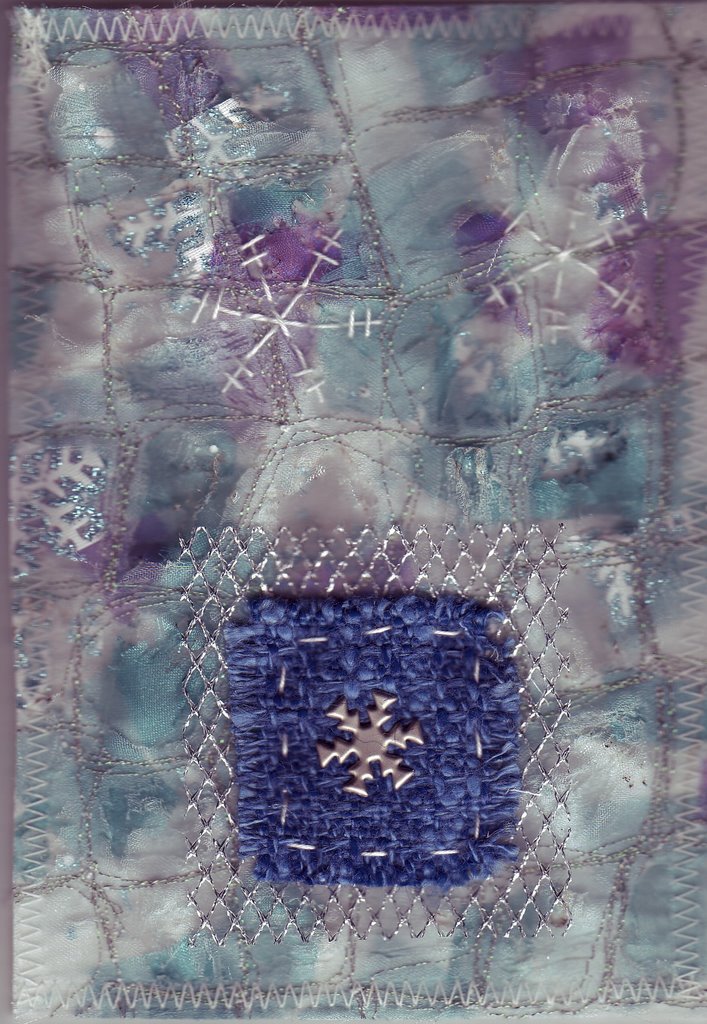
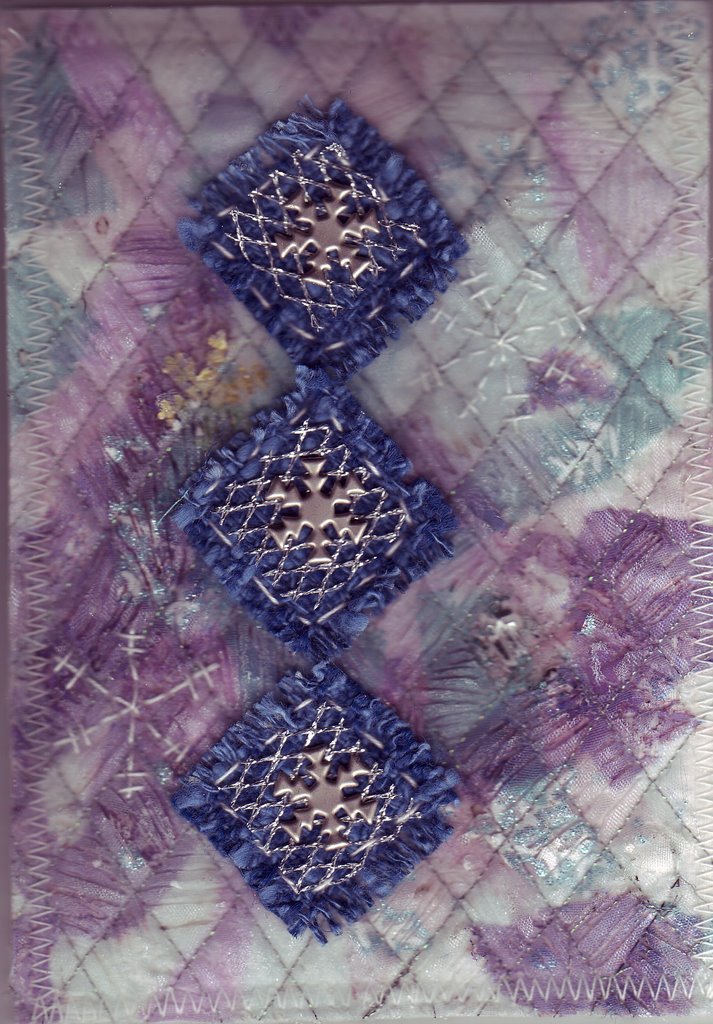
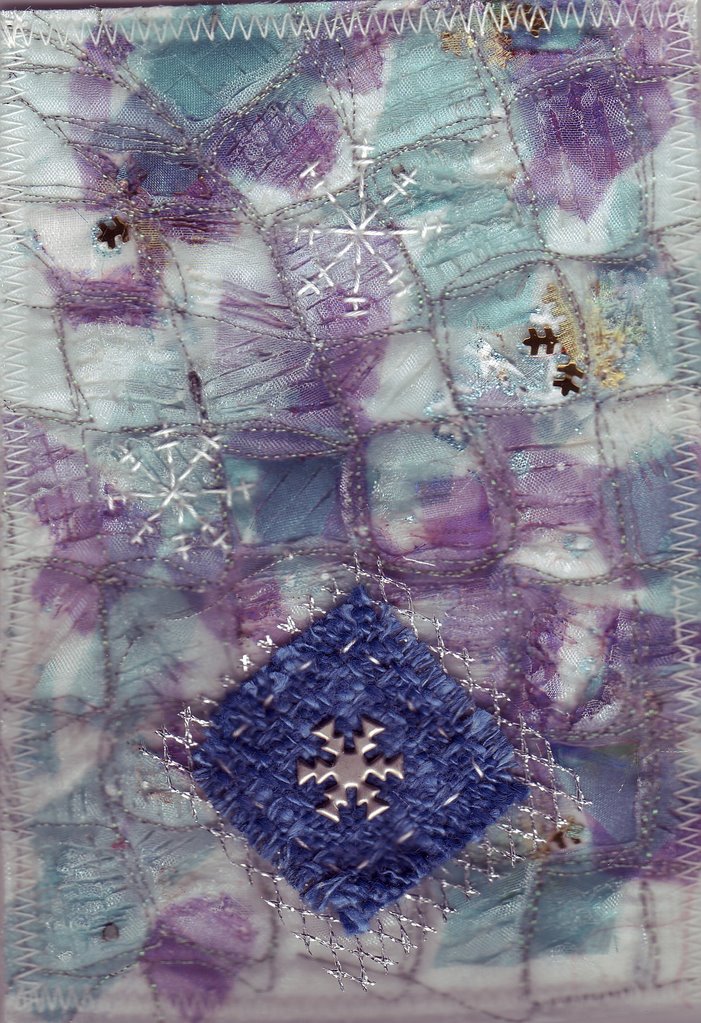
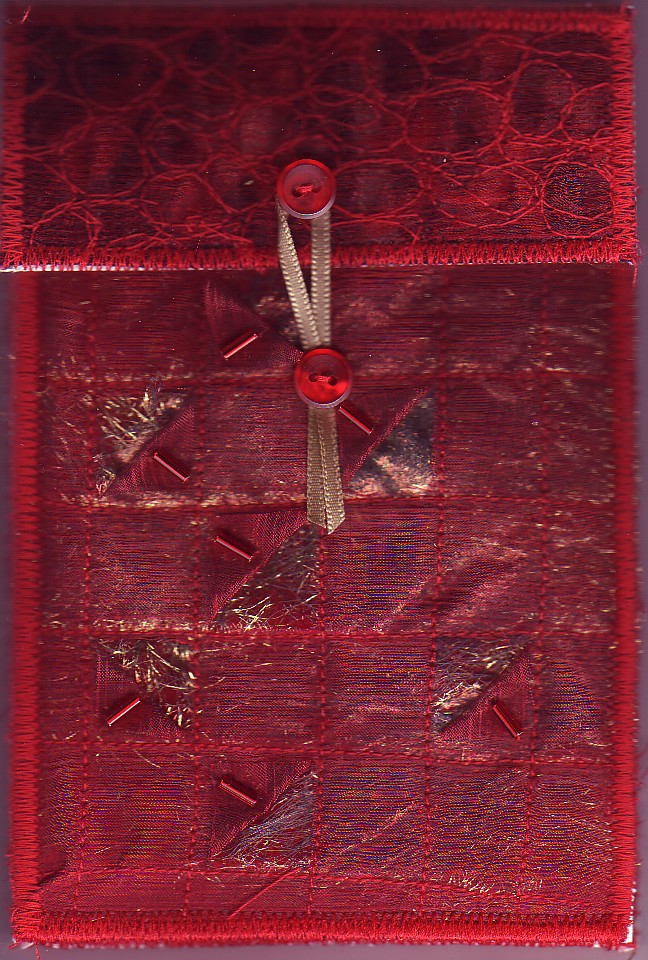
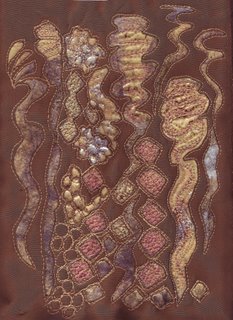
I have had a success this wekk, and I am really pleased with the result. As I have said in previous blogs, i have been wresling withthe cjallenge set by ME! for my textiles challenges yahoo group. I had done one reverse or cut back applique sample to show the group before we started, with wireform in it. I then wanted to do a stitched layer for the bottom layer of my real submition piece, but when I did one last I found I liked it so much that I didn't want to cover it up! This time I wasn't so precious and i just sprinkled supermend down and foiled those areas with gold, silver and copper foil.
Then I free machined some bubbly white water where the foil was.

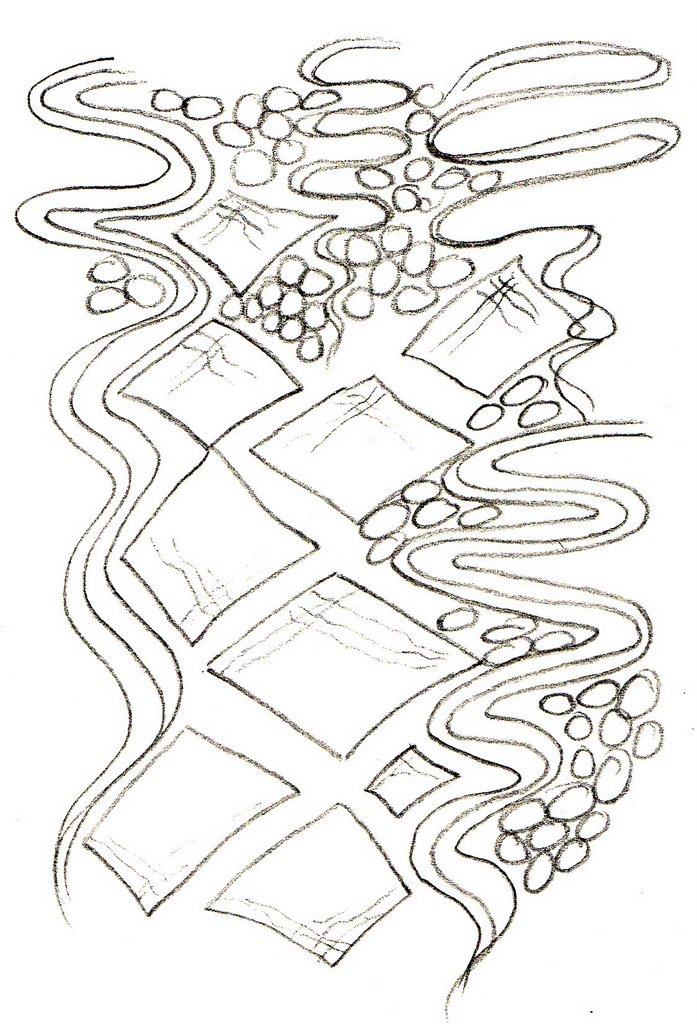
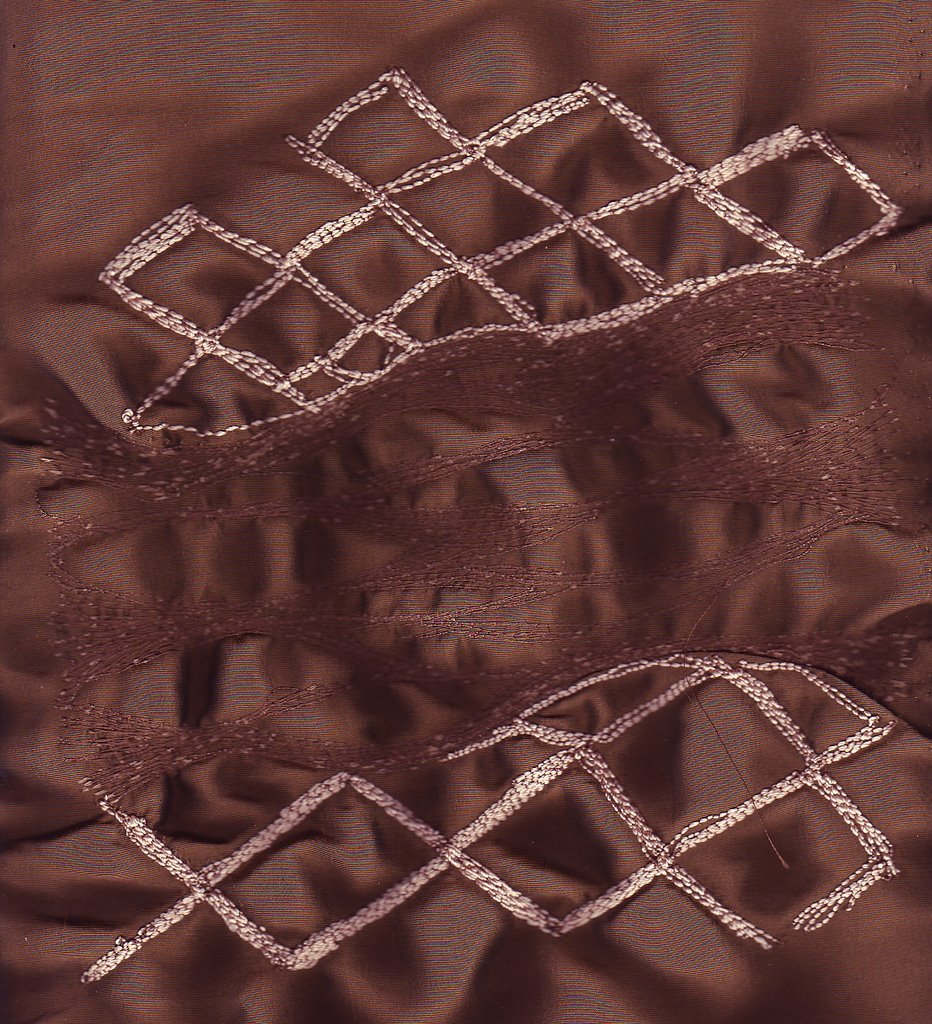
With this as a guide I then turned it over and worked in cable stitch some wiggly reflection lines in a few colours in cotton perle. I also worked some diamons which seem to keep recurring in my work of late from the drawings of the fresh water outlet at caswell bay, on the Gower (see drawing). The middle layer of the cut back was a pice of fused angelina fiber, two hot fix colours and a non heat fix gold mixed in. The top layer is taffeta. I then used the free machining as a guideline for the sewing through the three layers. I also did this in a fine gold cotton perle.

I am pleased with the result although I think I need to integrate the top layer a bit more, I like the piece with the bubbles at the top and I think it could do with more of this. I have class on Thursday and can't decide whether to do some more or wait and talk to Enid, I have a feeling she would just agree with me, so I may as well get it done before I see her. What do you think, constructive critisism welcome?

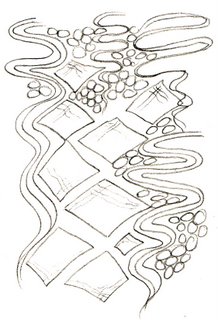
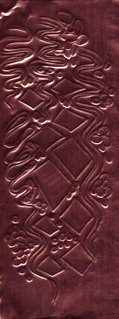
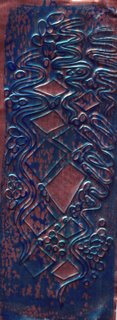
Underneath that is what I did at design class last night. Enid found some copper shim, because I had missed the foiling class the week before. I used the design which is drawn out above and I used a well rounded pencil to press through onto some foam, you know the stuff the kids have. I love the way it has turned out. the first scan is the back and the second one is after I have painted it with blue and green glass paints. I want to do more of this, and sew into it, it is so tactile and in keeping with my want for the finished piece to be viewed unsighted.

Friday, November 03, 2006

Finish it up friday on FAT


Hello all and today has been finish it up friday. FAT 's lovely list mom NJ set today as finishing day, so I thought I'd get my finger out! I have had my tri-fold cards for FAI on the go for a while and so I thought I'd get them done today. I have been plaing with layers a lots lately, with the cut back challenge for my yahoo group textiles challenges and all. So I have layered up taffeta, snippets of organza left over from previous tasks, and overlaid with chifon. I then free machined over the top. The really twinkly one has a middle layer of angelina and I have cut back part of the squares and held them back with a buggle bead. I also used he most gorgeous piece of green slubed silk and quilted and maniputaed pleats for the green cards. I hope the prospective owners like them. Inside I stamped a tree stamp onto white cotton and appliqued it on to a red taffeta quilted ack ground.

I then went on to work on my stitched ground layer for my challenge, I had promised my C+G tutor Enid Davies that I would put a stitched into layer into a cut back, so off I set to do it. I layered up my manmade taffeta which I have been using for my heat setting work, (see previous post) with some interlining. I then whip stitched on the machine the central lines, I used a drak brown on the top and a gold underneath. I was hoping the gold would show more but it hasn't, so I will ave to think about this a bit more, maybe invert the colours. I then did my first bit of cable stitch ever on the lighter diamond areas. I love the way the tension has pulled the taffeta into ripples. So hence why I will not be using it as the ground for cut back. It is such a lovly sample in it's own right I can not cover it up! Something always stops me sorting out that layer, and I must get it done ASAP as the deadline for challenge 1 is fast approaching, on the 14/11/06. Next time I am not going to do a pattern but just machine all over so I don't mind cutting back to it! Let's hope that works!!!

FAT Hearts


Last monday FAT had a monday night challenge to make holiday heart decorations. I had a blast making these. I made the ones with the green stitching on the monday night, and have since made three more. For the ones I made on Monday I layered up velevet, angelina and organza. I then free machined the surface, one with hearts and the other randomly. I then cut back through to reveal the angelina, and the velvet. I found I had a few pieces of layers left over and so I cut those into hearts and appliqued them onto velvet. The other hearts were made by layering up taffeta, snipets of organza and a layer of organza over the top. I fused the layers with supermend. I then free machined hearts and circles and used the automatic stitches on my machine to do the third. I then attacked this with the heat gun. It brought the colour of the burgundy taffeta through, which made them look quite dramatic. I had to be very careful with the heat gun as all layers were man made ad so I could have burnt them to a crisp!
I embellished with buttons and beads, which took a while! I am going to make some more to donate to my friend Jayne's daughters junior school xmas fayre. I felt quite festive doing them! Three of them will be swapped with FAT.